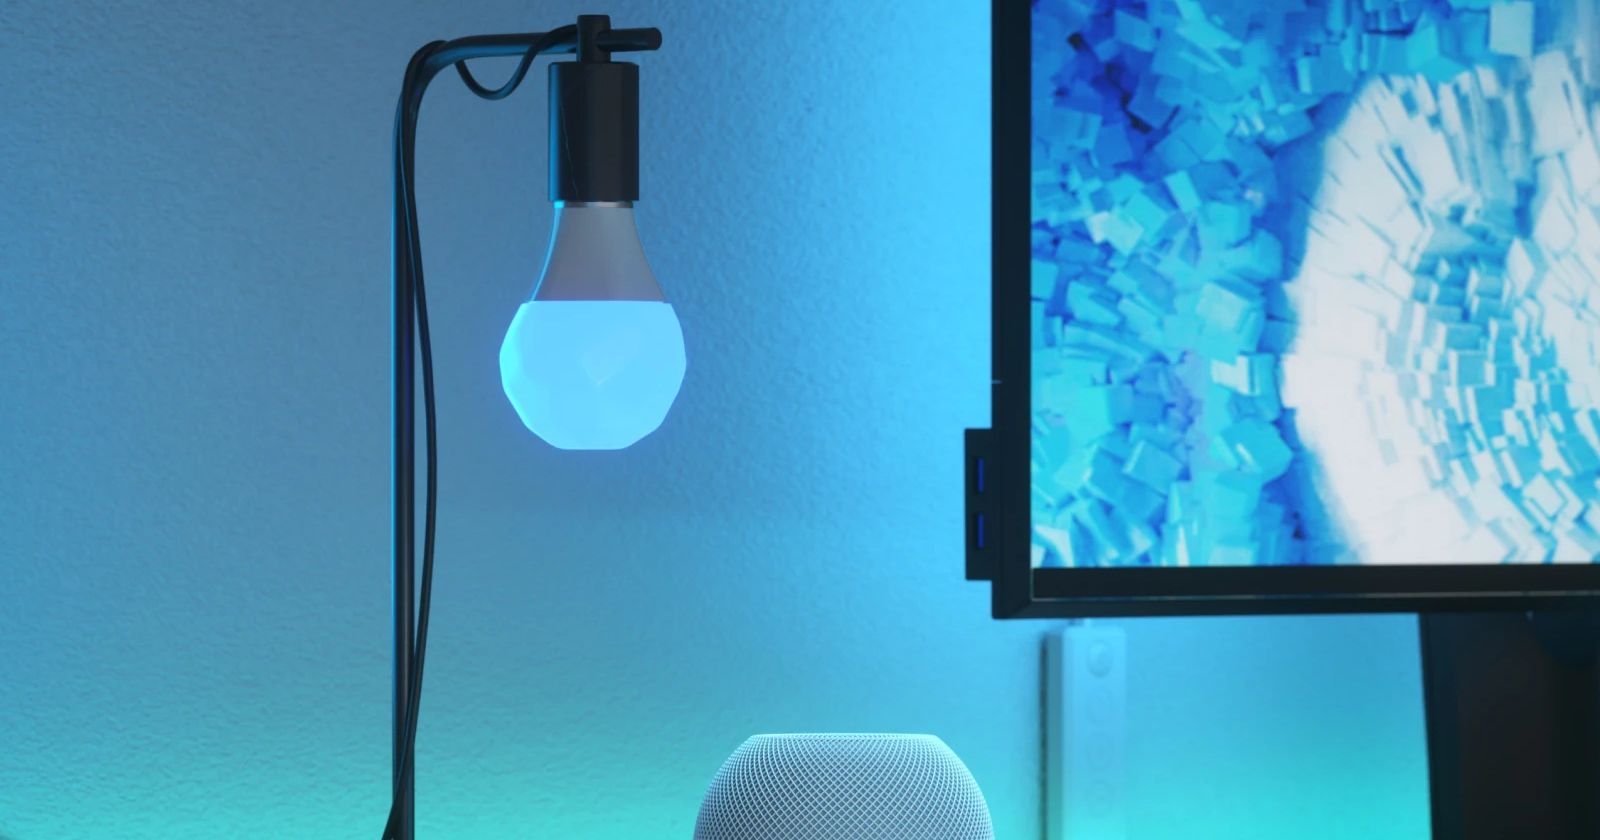
If you’ve just picked up your first HomeKit or Matter smart lights, you’ll need to know how to control them in Apple’s Home app. With just a few taps and swipes on your iPhone, you can quickly adjust brightness levels, change colors, or toggle your lights on or off. We’ll show you how.
What You’ll Need
Before controlling your lights, you must add your smart home product to Apple HomeKit or add a Matter smart home device to Apple Home. There are tons of compatible lighting devices available: bulbs, switches, lamps, strips, panels, etc., but available features will vary.
During the pairing process, you’ll give your light a name and assign it to a room within your home. These make it easier to track down your lights within the Home app.
If you want to control your lights remotely, or if you want to take advantage of advanced features like Adaptive Lighting or Automation, you’ll also need to set up an Apple Home Hub. Finally, you’ll need to ensure that all your devices are up-to-date and running the latest software.
How to Toggle Your Smart Lights in the Home App
Once you have a smart light bulb, lamp, or switch in the Home app, you can toggle it on and off in several different ways. The quickest and easiest method is to toggle your light through the Home or Room view.
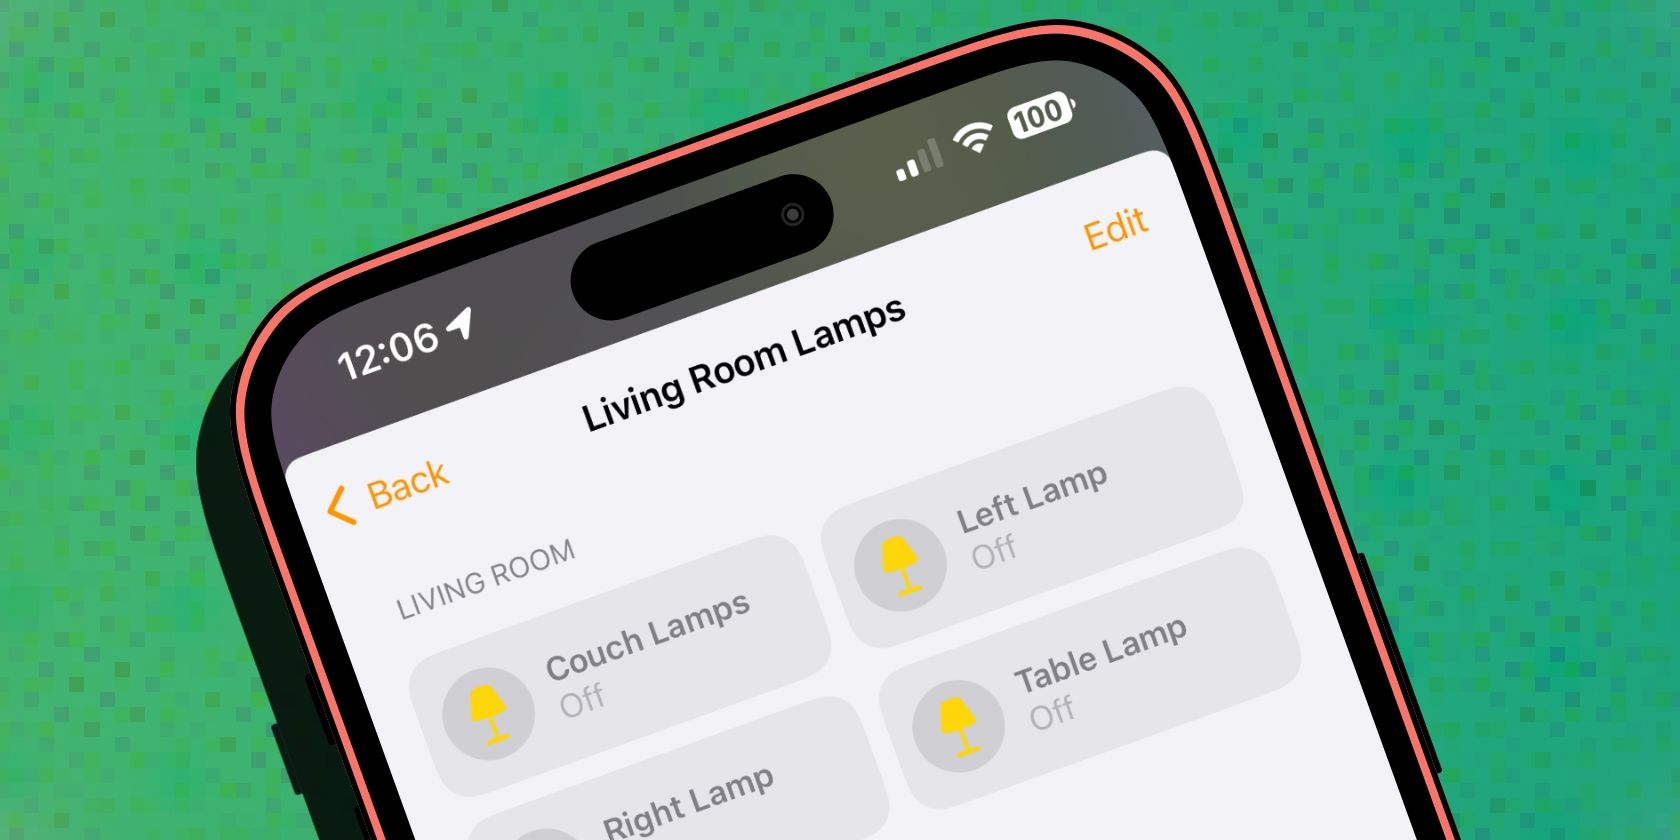
Start by launching the Home app, then tap the More… button near the top right corner of your screen. Next, tap the Room that includes your light.
Now, tap directly on your light’s device Icon. The Home app will automatically switch it on or off based on your light’s current state.
If you miss the icon or tap your light’s name, you’ll bring up the device controls screen. You can toggle non-dimmable lights within device controls simply by tapping or swiping your finger up or down accordingly on the Slider.
If your light features dimming capabilities, you’ll need to use a slightly different Slider to toggle your lights. To turn on your lights, slide your finger up from the bottom of the Slider to any point above the off position. To turn off your lights, drag the Slider to the bottom.
How to Dim Your Smart Lights
One of the best use cases for smart lights is for creating ambiance in and around the home through dimming. As you might expect, adjusting the brightness levels for your smart lights is similar to toggling it on or off in the Home app.
Launch the Home app, then tap the More… button. Now, tap the name of the Room that includes your smart light.
Next, tap the name of your light to bring up device controls. Once the Slider appears, use your finger to swipe up or down to set your desired brightness level.
Alternatively, you can tap a spot on the Slider—like the middle—to jump to a specific brightness.
How to Change the Color of Your Smart Lights
Another popular use for smart lights is using them to provide pops of color throughout your home. Apple’s Home app makes it easy to pick the perfect shade or set a favorite color in just a few taps.
To adjust the color of your lights, launch the Home app, then tap the More… button. Next, select a Room with a compatible light by tapping its name.
Now, tap the name of your light to bring up the familiar device controls screen. From here, you can set a Preset Color by tapping one of the available options underneath the brightness Slider.
If you want to customize your light’s color, tap a Preset Color option, then tap Edit. Once the Color Picker appears, tap an area or swipe across it to dial in or set your desired color.
If you want to choose between shades of White, tap Temperature above the Color Picker. As with selecting a color, tap an area or swipe across the Color Picker to set your shade of White.
Once you find the right color or temperature, tap Done in the top right-hand corner of the Home app to save your selection.
Other Ways to Control Your HomeKit Smart Lights
In addition to adjusting brightness, toggling power, or changing colors, you can leverage the Home app to control your lights in other ways. For example, if you have multiple lights within the same room, you can group your HomeKit accessories in the Home app for even quicker controls.
Like groups, you can create HomeKit scenes in the Apple Home app to combine your lights with other smart accessories. However, with Scenes, you aren’t limited to lights. With Scenes, you can dim the lights, turn on the TV, and close the blinds, all with a single tap.
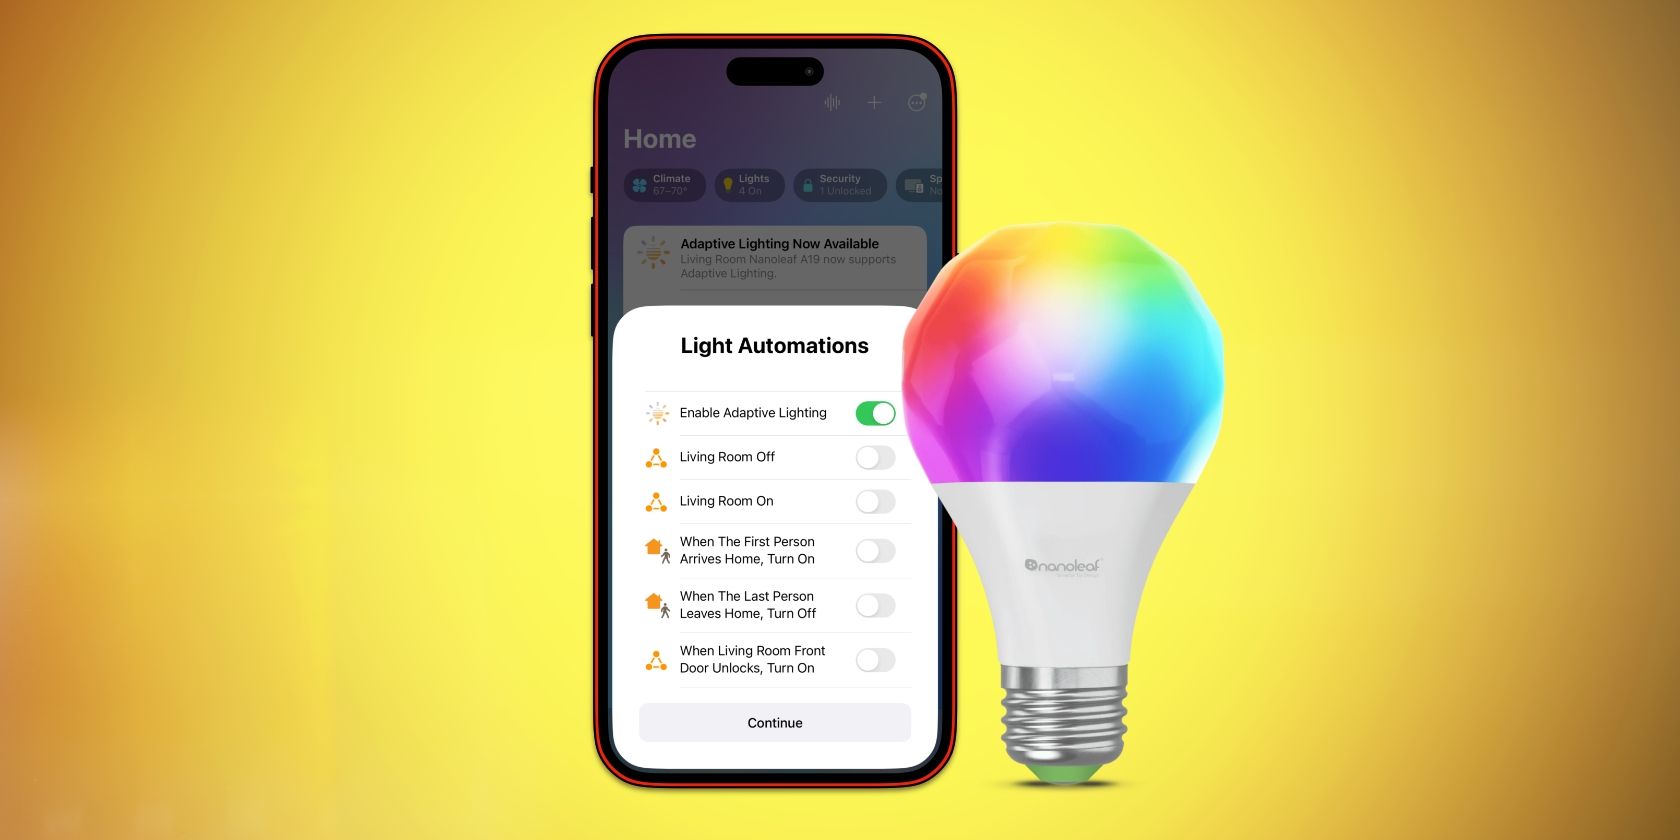
The Home app also allows you to put Apple HomeKit devices to good use with Automation. Through Automation, you’re able to create schedules for your home—like turning on your lights at sunset—or have your lights react to changes such as a door opening.
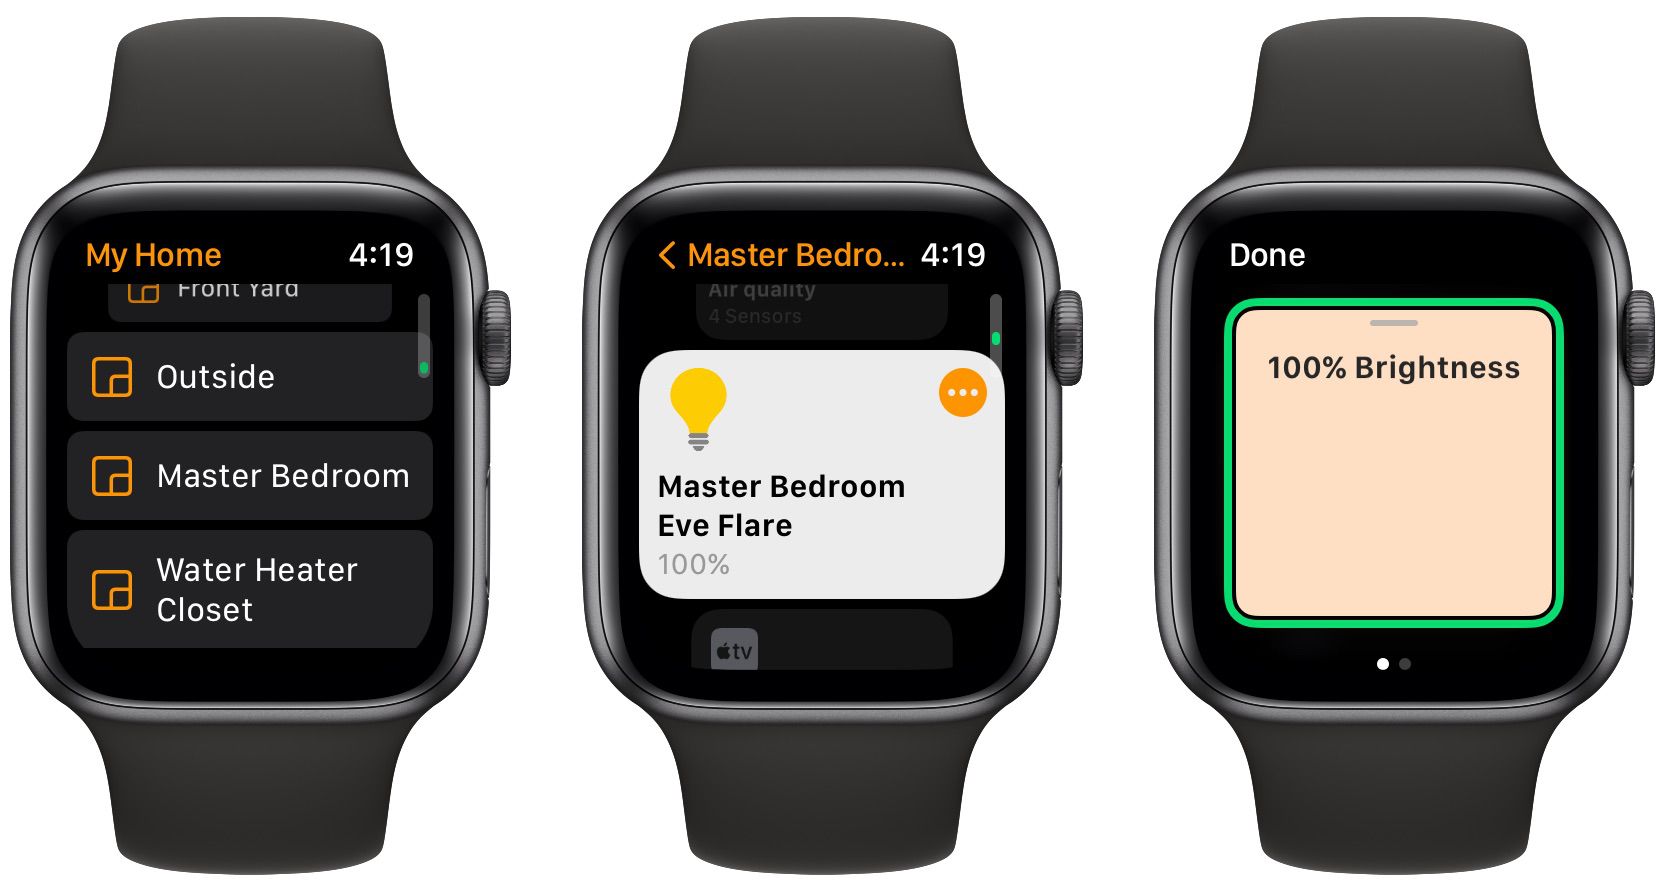
Controlling your smart home using Apple Watch and Siri is another benefit of adding your lights to the Home app. By naming your smart lights and assigning them to a room, you can make quick changes via your Apple Watch or through voice commands like—Hey Siri, turn on the kitchen table light—through devices like the HomePod.
Finally, if you have compatible hardware, you can also use Adaptive Lighting with your Apple HomeKit lights through the Home app. With Adaptive Lighting, your lights will automatically adjust color temperature throughout the day—from bright whites in the afternoon to warmer tones in the evening. That can help boost energy levels and promote rest during your daily routine.
Apple Home: Smart Controls for Your Smart Lights
Now that you know how to control your smart lights with the Home app, you can take advantage of dimming, color controls, scenes, and much more. All that can be done with a few clicks on your iPhone or other Apple devices.


